I haven’t queried manufacturers to find out the cost of the game at ~64 dice and 4 players, but I don’t expect it to be cheap. I know that keeping a laser focus on unit economics will be very important if we want to publish a profitable game.
Ways to Keep Costs Down
A rule of thumb is that board games retail for about 5x their landed cost. This is because games sell into distribution at about 18-20% msrp, which works out to a 50% unit margin. For reference Nut Hunt which we are now selling for $39 (we recently reduced the price from $49) had a landed cost of $9.68. The breakdown was:
Manufacture & Component Testing – $29,415 / 4,000 = $7.35 per game
Freight – $6,154 / 3,732 = $1.65 per game
Customs Inspection Fees – $2,529 / 3,732 = $0.68 per game
This was for a 4,000 unit print run with most of the units shipped Stateside. The $2,529 customs inspection fee was due to our container being pulled for inspection (which is a rare occurrence).
As you can see, we are breaking the 5x rule for Nut Hunt.
Our original MSRP was $49, but the $39 price point resonates more with consumers and is in line with peers (also a family weight gateway game although a bit higher complexity & component skew than its closest comps).
The historical power struggles occurring during the period covered by Baltic Empires (1558-1721) did not happen in a vacuum, but were of great importance to the interest to major powers on the edges of the map of Baltic Empires: England, France, the Netherlands, the Habsburg-controlled Holy Roman Empire, and the Ottoman Empire. Each of these powers were in their own way affected by affairs in the Baltic region, and in turn attempted to influence events there to their own advantage by various means. The scale of this ranged across the spectrum from minor trade deals to outright invasions and attempts at dictating foreign policy. The focus on this article is therefore on these foreign powers and how their interference and intervention in Baltic affairs are represented in the game.
The map of Baltic Empires has many areas that are uncontrolled by the playable powers at the start of the game. These are called Independents, and most can be conquered by the players. Along the edge of the map there are also some special areas that can never be entered or controlled by the players. These are the “Habsburg Lands”, the “Ottoman & Tatar Lands”, and in the North Sea, the “Maritime Powers” – an amalgamation of France, England and The Netherlands. Independent units start in these areas and more can be placed each round by the Prussian player (see my previous article on Prussia in Baltic Empires for an explanation on how and why). During their turn, players may spend thalers (the money resource of Baltic Empires) to ally with Independent units and control them during their turn. This simple mechanism in itself does a great job at representing the minor interventions in Baltic affairs, where rulers could secure outside assistance in their wars.
The Dramatis Personae (DP) mechanism, where players add a card to their Power Mat and gain the abilities of that card, adds another layer of showing the actions of admirals, rulers, and diplomats from these foreign powers that played a major role in the history of the Baltic region. In addition to the DP cards mentioned in this article, there are several other DP cards representing individuals from outside the Baltic region who were not representatives of these major powers, but rather of the major banking houses of Europe or simply individuals whose deeds as merchants, industrialists or military thinkers had a big impact on the events covered by the game.
The Maritime Powers(The Netherlands, England, and France)
The Sound Due was a source of immense wealth to the Danish kings, as the flow of trade between the Baltic ports and England and the Netherlands all had to pass through the narrow Danish-controlled waters. It was collected at Kronborg Castle in Elsinore (of Hamlet fame) and was from 1548 onwards based on the value of a ship´s cargo. In order to combat fraud, the local authorities there were authorized to buy a cargo at the declared price if they had a suspicion that it was deliberately set lower than the market value (the effect of the Sound Due in Baltic Empires, and how it generates thalers for Denmark is described in detail in my earlier article on Denmark-Norway). This toll was a source of immense irritation to the maritime powers who were heavily dependent on their Baltic trade for timber, flax, hemp, grain and various other goods to sustain their fleets and growing urban populations.
In Baltic Empires this trade with the Dutch and English is represented in the “Maritime Trade Phase”, where players may trade a number of their collected goods depending on their position on the Mercantile Hegemon Track, and in exchange draw an equal number of special Maritime Trade Goods. These are either rare Goods types not found on the map (and thus valuable for the players since you pay for things with sets of different Goods) or Thalers (which are even more valuable as they are wild-card goods and are the only resource you can use to pay upkeep and repay loans). Besides its economic importance, the Baltic region was an integral part of the European balance of power. As such the region was of interest to major powers such as France, whose very active policy of subsidies and alliances meant that several of the wars fought in the Baltic during the period covered by the game (1558-1721) were to a large degree proxy wars or parallel wars to those fought by Louis the XIV in western Europe.
Cornelis Tromp(1629-1691)
Tromp was a Dutch naval officer sent to Denmark during the Scanian War against Sweden (1675-79) to serve as an admiral in the Danish Navy. He performed well in this role and was instrumental in the victory in the battle of Öland in 1676. As an officer Tromp was infamous for his insubordination. He was a very aggressive commander who relished the fight, and as a result often had to change ships during battle, but he was nevertheless popular with his crews despite the danger he put them in. At home, without fighting to distract him, he had the reputation of being a heavy drinker, so much so that many inns at the time were named after him.
In Baltic Empires, the Tromp card represents an alliance with the Dutch, rewarding you with a special Leader unit. Leader units move and fight as normal units of their type (in this case a Ship of the Line), but with some benefits that either effect the unit or all friendly units with it, as detailed on the card. Tromp´s skill as a successful naval commander is represented by an ability which transforms one enemy “Probably Hit” result into a “Miss”, thus potentially reducing friendly losses when Tromp. This might seem counterintuitive considering Tromps record of daring and danger, but these exact qualities also ensured that naval battles would be decided far quicker and in a more decisive manner, which ensured overall lower losses than those seen in a protracted battle.
Another benefit to this Leader unit is that, for most Powers, the cost of a Ship of the Line unit is higher than the cost of a Dramatis Personae card, so if you were considering building ships anyway, the draw of a card that gives you an even more potent unit for a lower cost is often a welcome bonus.
A painting of the battle of Öland (1676), showing Dutch and Danish ships fighting against the Swedish navy
Coenraad van Beuningen(1622-1693)
Van Beuningen was the Dutch Republic’s most experienced diplomat, burgomaster of Amsterdam for many years, as well as the director of the Dutch East India Company. He keenly understood the importance for the Dutch Republic of not having a single power controlling the entrance to the critical Baltic region and is credited with saying that: “The keys of Öresund lay in a dock in Amsterdam”. Van Beuningen was a highly intelligent man with interests in art, theology and natural sciences, but also with a strong interest in mysticism, astrology, dream-interpretation, and supernatural wonders. The shock of losing his fortune through speculation in shares in 1688 made him bipolar, and he was locked up after writing letters to the ecclesiastical authorities about the coming apocalypse and painting Kabbalistic signs on his house. He died in poverty, leaving only a cape and two dressing gowns, a few pieces of furniture, and “a man’s portrait” by Rembrandt valued at seven guilders (three dollars).
In Baltic Empires, Coenrad van Beuningen directly reflects Dutch foreign policy and the goal of opening up the Sound to Dutch trade. This would happen by creating a situation where no single power held both shores of the Sound. By aligning your Power with the Dutch views on the Sound (in game terms, having van Beuningen in your Court) you are rewarded with beneficial trade deals and access to lots of capital. This is represented with the +2 modifier to the Mercantile Hegemon track, as well as increasing your Loan Limit. Should the situation in the Sound be resolved in favor of the Dutch you are rewarded even further with annual subsidies.
Van Beuningen can be useful to all players, as there is no requirement for your power to be actively part of events in the Sound, although he will likely appeal more to those powers who are already heavily committed to the affairs of the Sound: Denmark and Sweden. For the former, Beuningen is obviously mostly interesting if you fail to keep your control of Scania, in which case he helps cushioning the blow of losing the Sound Due Thalers and let you pursue other paths to victory – which is more or less exactly what happened in the Baltics after Sweden acquired control of Scania in 1658 and Dutch policies shifted from supporting Sweden to one of supporting Denmark defend their islands from the Swedes.
George Rooke (1650-1709)
Goerge Rooke was an English naval officer who saw extensive action against the Dutch, French, and Spanish during his long career. In the Baltic context he is mainly known for commanding the Anglo-Dutch Squadron that cooperated with the Swedish fleet in 1700. This squadron attacked Copenhagen and made it possible for King Charles XII to land and knock Denmark out of the Great Northern War (1700-21) in its opening phases. After the short Danish campaign Rooke would fight in the War of Spanish Succession (1701-14). Here he would capture the Spanish treasure fleet in the Battle of Vigo Bay in 1702 and command the Allied naval forces that captured Gibraltar in 1704, where a statue of him was raised in 2004.
The Baltic Empires version of George Rooke closely mirrors the historical Rooke. He is represented as a Ship of the Line Leader unit that gives you control over Independent units in the same sea area and must enter the game in the in the North or Norwegian Sea. Due to his entry restrictions Rooke will likely only be interesting for the Danish player, or for Powers that want to contest Denmark’s control of the seas. His benefits are highly situational, and if the North Sea is empty of Independent ships or if Denmark´s naval situation is too strong and secure he will likely be passed over for the other four cards available that round, or any other pressing concerns troubling the players at the time. But if the English offers of naval support come at a critical time and the conditions are right the questions of who gets George Rooke will cause lots of angst in the Production Phase, and will be one of the most talked about events after the game.
Thomas Roe(1581-1644)
Thomas Roe was an English diplomat whose voyages ranged from Central America to India, and who worked as ambassador to the Mughal Empire, the Ottoman Empire. and the Holy Roman Empire. During the Thirty Years War (1618-48) he brokered a peace between Sweden and Poland and strove to get Denmark and Sweden to join the Protestant anti-Habsburg coalition.
In Baltic Empires, Thomas Roe is shown more as an abstract representation of British diplomatic and economic pressure in general, and less as a representation of Roe’s personal achievements specifically. He allows the Power allied with Britain (represented by having Roe in your Court) to choose any one of the other powers in the game and effectively cripple their Maritime Trade Phase by limiting them to only trading a single Good. As a side benefit, he also increases your Power’s position on the Mercantile Track to represent increased trade with England. During a game the former is a hugely interesting power to wield as it can be used both to hurt enemies but also as a tool for diplomacy/blackmail, and it is my experience that Thomas Roe is a card that increases the intensity of the table talk.
King Louis XIV(1638-1715)
Louis XIV, the “Sun King”, was king of France from 1643 and his reign of 72 years is the longest recorded reign of any monarch in European history. Louis’s France was emblematic of absolutism as exemplified in the quote: “L’état, c’est moi”(“I am the state”). His revocation of the edict of Nantes in 1685 abolished the rights of the Protestant Huguenots and the resultant stream of Huguenot refugees to the Baltic region brought with them valuable technical skills. In the Baltic context he is mainly known for thoroughly intertwining Baltic power politics with the greater European power politics, as he sought to distract his Habsburg enemies by subsidizing the standing army of his ally Sweden.
No game on early modern power politics and war would be complete without Louis XIV! In Baltic Empires, the Louis XIV card reflects the massive impact on the Baltic scene of the Sun King’s many wars against his English, Dutch, and Habsburg rivals. His effects are two-fold, and one of only a handful of multi-category cards (Immediate and Permanent effects in this case). Upon getting Louis in your court the strong French armies will cause an abrupt diversion of Habsburg attention away from the Baltic and towards the borders with France, as represented by the removal of all independent units in the Habsburg Lands at that time. As with George Rooke above, the impact of this effect is largely situational. His other effect, representing the substantial subsidies Louis offered Sweden to maintain a large army at all times (so France’s German opponents would always have to watch their back), is a permanent effect. A -2 reduction of your Power’s upkeep costs is a significant boost, and especially so since upkeep costs can only be paid using ever scarce Thalers. Just as in history, an alliance with Louis XIV will allow your Power to maintain a far larger army without going bankrupt.
That’s all from the Netherlands, England, and France! In the second part of this article we will look at some personalities from the Ottoman Empire and the Holy Roman Empire who played an important role in Baltic affairs.
Bringing a game to market is an expensive and time consuming proposition (follow along as we take Froggy Bazaar from an idea to publication & beyond). It’s easy to over-estimate the value of your game idea, and underestimate the value of the rest of the process of bringing a game to market.
In short, even if your game rocks it isn’t worth it for anyone else to steal it.
Stealing a game would also come with a lot of risk. The indie design community is small and close-knit. And indie game consumers likely wouldn’t be forgiving towards a publisher who stole another designer’s game.
You do occasionally see successful games re-implemented like Cards Against Humanity broadly re-implemented Apples to Apples with NSFW content. But, I don’t know of any instances where an indie design was ripped off especially before publication.
So, get to playtesting!
Where to Find Playtesters
I like to think of playtesting in a couple of categories each with a different audience, and with different goals. Where you go to find playtesters in each stage will vary. And, as you playtest more you’ll be sourcing playtesters more broadly outside of your immediate circle.
Early Stage
The earliest stages of playtesting you’ll be figuring out whether your game is fun and functional. This will mostly be playing by yourself and roping family and friends into games while you iterate on rules.
Where to find early stage playtesters:
Mid Stage
As your game progresses you’ll be focused on developing the game, balancing it, and finding your audience. In some playtests you’ll be focused on getting feedback on specific mechanisms or interactions, in others you’ll want broad feedback, and in others you’ll be focused on what gamers your game gels with.
If you had to give an elevator pitch to attract new players into LARPing, what would you say?
Erin: At its core, LARP is about coming together with other people and exploring a story that none of you could tell alone. People come for lots of different reasons: wanting to act out a role; looking for something more immersive than tabletop or videogames; making music or other performances; crafting flashy costumes. But strip all of that away and there’s no feeling quite like your heartbeat racing as you wait to see the consequences of your actions, or just sitting back and bathing in the atmosphere of a group of people creating a world together.
For those who picture LARPing as wearing costumes in a field, please could you explain a bit about chamber LARPs – what do these involve, and what do players spend their time doing during a game?
Jon: The focus is generally on social interactions, which might be very political and strategic or just hanging out as your characters. There’s also space for very personal storytelling, one of the central themes of Changeling is having your life turned completely upside down by a magical, incomprehensible experience, and trying to make sense of what to do next.
That said, all those things are often possible in “field” LARPs too, so I suppose the biggest difference is that there are fewer rules, and no dramatic combat or spell-slinging. Problems are more likely to be solved with discussion, negotiation, and problem-solving.
More of GMT’s Digital Offerings that allow you to “Play GMT Games Anytime, Anywhere.
As I noted in our first article, we have created, in cooperation with individual programmers and digital game platforms, numerous ways for customers to experience our boardgames on your digital devices. We’ve done this for one large, underlying reason: We want players to be able to engage with and experience the learning, fun, challenge, and historical insights of our boardgames with other players from around the world on digital platforms where they can play the games generally much more quickly than they can on their physical game tables.
Online Multi-player Games that enforce the boardgame rules but have no solo AI opponents. We’ll talk about these today.
Traditional VASSAL and TableTop Simulator Game Modules. We’ll feature these in our next installment of the series.
Free-to-Play Online Games
Today we’ll talk about all of the Free-to-Play Games that we have authorized to be published on Popular Online Platforms. First, a few notes about these games:
Most GMT Games on online free-to-play platforms look and play like the boardgame. You can play them multi-player with friends or multi-handed “hot seat” solo, but there is no AI built in, so there is no “against the computer” solo play.
A nice feature of Rally the Troops, one of the platforms listed below, especially if you want to familiarize yourself with gameplay before you play yourself, is that you can “Watch” a game in progress or “Review” a completed game.
All we ask for those of you who play our games online is that at least one of you who are playing owns the physical boardgame. That’s how it would be if you were meeting friends face to face to play – ONE of you would bring the game. But there’s no requirement that all players own the game to play online. We WANT you to use online free-to-play options to “try before you buy” our boardgames.
Here’s the list of games we have authorized that are currently available on free-to-play online platforms:
Rally the Troops.com
GMT Games Available to play for free on Rally the Troops as of April 21, 2025:
1989: Dawn of Freedom (2-player Card-driven game (CDG) set in Eastern Europe in 1989)
Andean Abyss (1-4 player COIN series game on the struggle for power in Columbia in the 1990s )
Nevsky (1-2-player Levy & Campaign series game about the clash between Latin Teutonic and Orthodox Russian powers along the Baltic frontier in the mid-13th-Century.)
Plantagenet (1-2-player Levy & Campaign series game of the War of the Roses)
Red Flag Over Paris (2-player Card-driven game on the Rise and Fall of the Paris Commune, 1871. )
Time of Crisis (1-4 player Strategy game of Ancient Rome)
Vijayanagara (1-3 player Irregular Conflict Series game of Medieval India, 1290-1398.
Washington’s War (Strategic 2-player CDG about the American Revolution.)
Wilderness War (Strategic 2-player CDG about the French & Indian Wars)
I hope this article and “all in one place” listing of games gives you insight into what’s available to you for our free-to-play digital games offerings. We want all of you to have plenty of options to find your favorite ways to “Play GMT Games Anytime, Anywhere.”
Next Time: VASSAL, TableTop Simulator Module, Cyberboard for almost all of our games, plus Solo Apps!
In William Shakespeare’s Richard III, the eponymous character is described as physically deformed and a psychopathic villain. Was this the truth or Tudor era propaganda?
Shakespeare has these lines in the play depicting Richard as deformed in body:
“To help thee curse this poisonous bunch-backed toad.”
“O, thou didst prophesy the time would come that I should wish for thee to help me curse that bottled spider, that foul bunch-backed toad!”
“Look how I am bewitched! Behold mine arm is like a blasted sapling withered up”
Old Bill is clearly saying that Richard is a hunchback, much like Quasimodo from the Victor Hugo novel, or the Disney movie, take your pick. And that one of Richard’s arms was withered and wasted. In 2012, archaeologists found and exhumed King Richard III from a car park (parking lot in America) in Leicester, England. The site was formerly part of Greyfriars Priory where the fallen King was buried after his death at Bosworth. An analysis of the skeleton showed that Richard had a severe case of Scoliosis, which at most would have caused one of his shoulders to lower than the other. There was no evidence of the “withered arm” mentioned in the play.
As far as Richard being a psychopathic villain that murdered his brother George, Duke of Clarence, his nephews (the infamous princes in the tower), among others. Richard had served his brother, Edward, well as the Duke of Gloucester, helping him win his crown and become King Edward IV. George was executed for treason and likely “deserved” it, for turning on both Edward and Richard several times. As for the princes, there is much debate about what became of them and who ordered what. The designer of Blood & Roses, Richard Berg, clearly believed that his namesake was a not responsible for their disappearance. There is some evidence that the bones found in the Tower of London were not those of the princes. Politics in England during this time period was a little rougher, to say the least, than it is today. More on par with Soviet Russia, where people suddenly disappeared and were erased from history.
Bosworth, one of the more important battles in English history, wherein, Henry Tudor, Earl of Richmond, defeated King Richard III and gained the English crown for the House of Tudor (political descendants of the House of Lancaster) as Henry VII.
Battle of Bosworth, as depicted by Philip James de Loutherbourg (1740–1812)
But more than that, Bosworth is interesting for two reasons:
• It is the only battle on English soil in which an English king was killed (if one starts counting from the reign of William I)
• It is a rather interesting situation, with each side waiting to see which way the political and tactical wind will blow, and two “Battles” of Stanley’s sitting athwart the field, like soccer fans, waiting to weigh in for whoever looks good.
Richard Berg was a Ricardian, meaning he was pro-Richard amidst all of the Tudorian propaganda out there, much of it thanks to Shakespeare (doing a spin job for the Tudors). Richard, for one, was a most stalwart and capable battlefield commander and fighter, and was unfairly smeared as a hunchback because of his scoliosis of the spine… and a pretty good king while he ruled.
Some of the historical text above was lifted from the Men of Iron Battle Book’s Historical Background for the Battle of Bosworth.
You can learn more or pre-order the Men of Iron Tri-Pack 2nd Printing here.
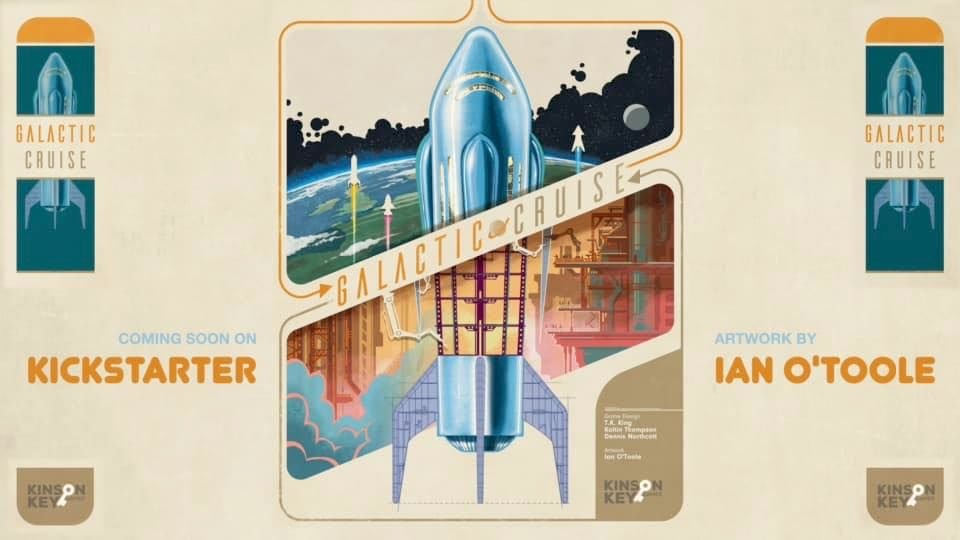
Edward “TK” King and co-designer Dennis Northcott started their publication journey for Galactic Cruise around the same time I started our journey with Nut Hunt. I remember fondly the early days of us on the Board Game Design Lab Facebook page talking design tips, sharing prototype pictures, and learning the ins and outs of bringing a game to market.
We took different routes with our games – where I spent about 18 months developing Nut Hunt and bringing it to market, TK, Dennis & team (Koltin Thompson who I haven’t interacted with as much) have had a much more measured approach and expects to launch Galactic Cruise on Kickstarter in the first quarter of 2024.
I’m extremely proud of what Ed and team have accomplished. A solid 6 months ahead of launching the Kickstarter they already have over 3,000 followers on the page, the game was a hit at Gen Con, and they’ve built a great game with a great community.
As I wrote about last week (in a regular blog post), as a game evolves through the development process the goals of your playtests, as well as the target playtest audience will change.
We’re now at the point for Froggy Bazaar where I need to broaden our play tester base (beyond my immediate circle), and so have a few important questions to answer.
What is the medium of playtesting?
Who is playtesting?
What are our goals for playtesting?
Playtesting Medium
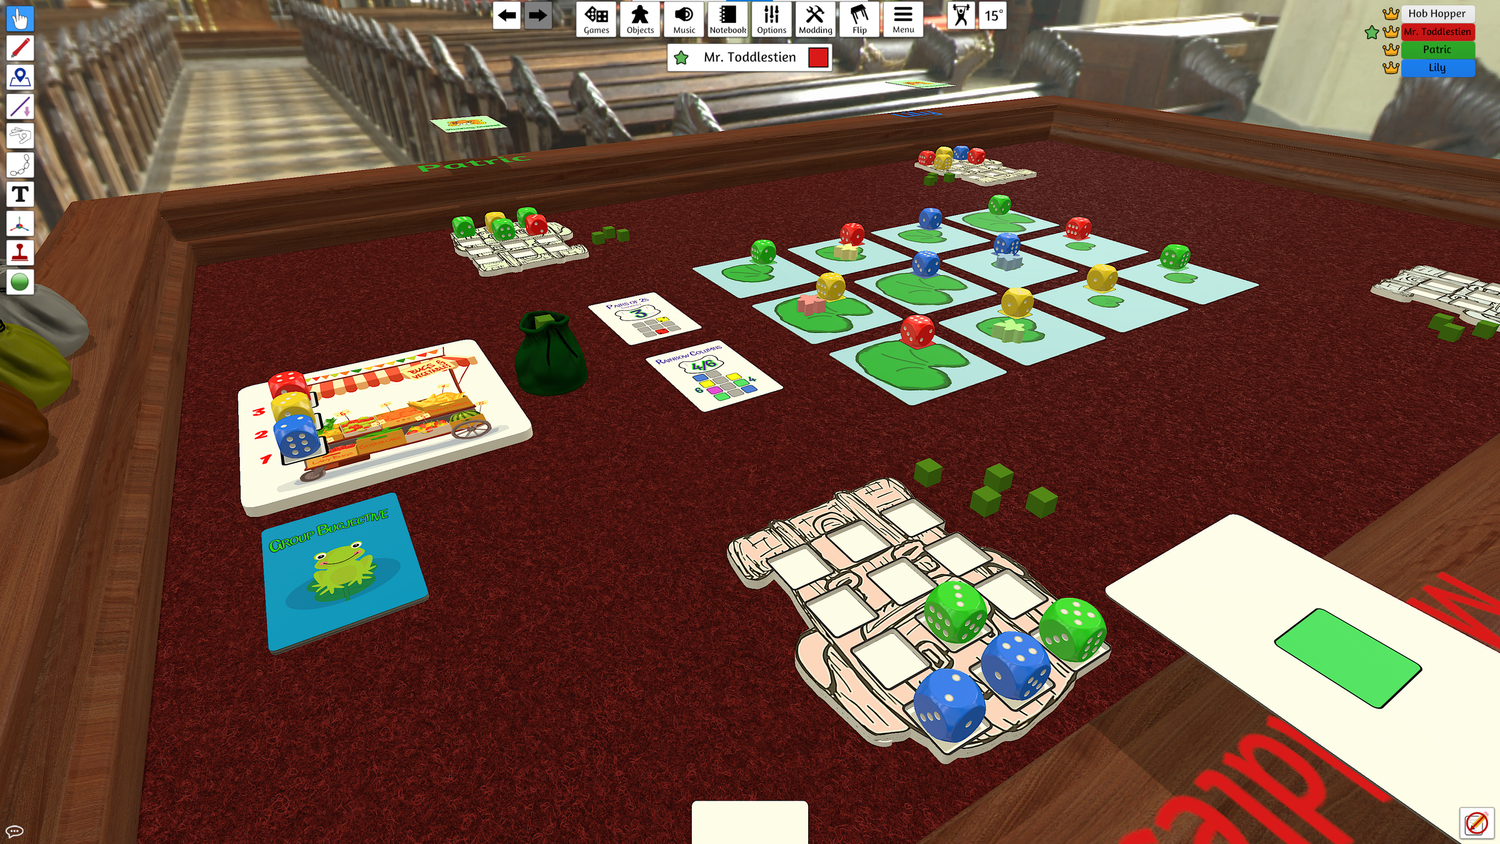
We enlisted the help of Tabletop Simulator wizard Alexei Menardo to script our Froggy Bazaar mod. Alexei is great at getting TTS to do what you want including what could otherwise be fiddly set up [if you’d like to commission Alexei to build a mod for your game, you can reach him at pixelandboard@gmail.com].
As such, most of our playtesting in the near term will be online through Tabletop Simulator. That said, if you’d like to print out your own version of Froggy Bazaar, we have PNP materials here, and very rough written rules here.
Playtesters
Since we’ve been through this process a couple of times, I am fortunate to have an audience of Pine Island Insiders who are excited to play our upcoming games. Over time I’ll be reaching out on the various forums to source an even broader audience.
If you are looking for playtesters for your game, check out last week’s article Playtesting & Playtesters.
Playtesting Goals
These first rounds of playtesting are aimed at tightening up the game mechanically, finding pain points, and making sure every inch of the game is fun. Since this series focuses on a specific game, I’m going to go into a little more detail of my primary goals for this round of playtesting
Make sure that the BIG HOP action is balanced.
Figure out if we have the best end of game trigger (a player filling their rucksack).
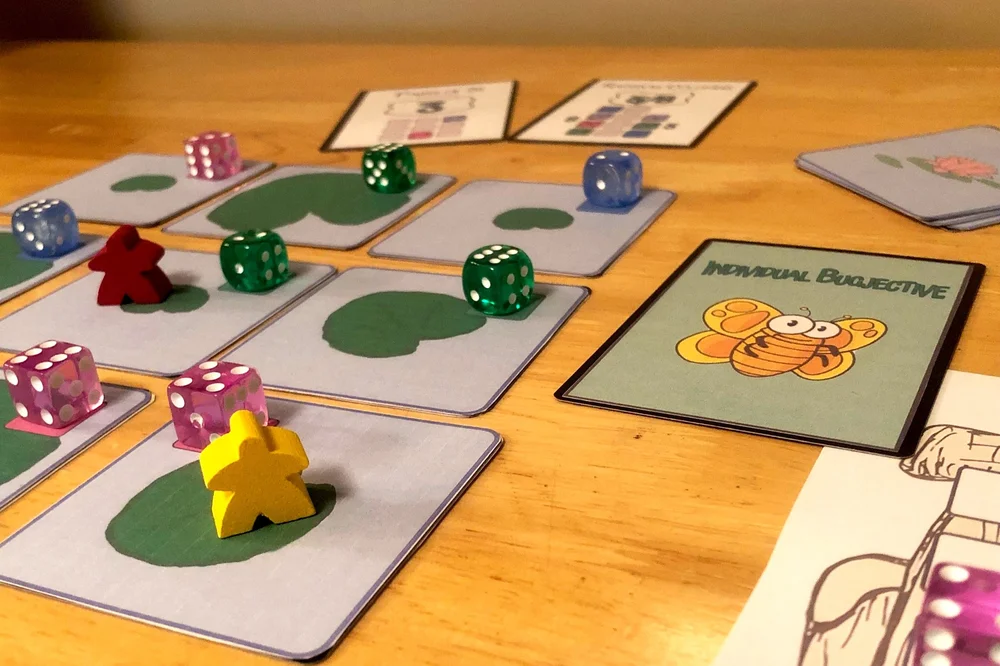
Balancing group bugjectives & figuring out whether we should separate them into separate color and number bugjectives.
You can check out my full playtesting feedback form here. What I also love about these early rounds is that I run the playtesting, so can talk with players in real time about how they feel about different aspects of the gameplay.
While I think each playtest should have a focus, it’s always helpful to have some level of consistency in what you are asking your play testers. JT Smith over at The Game Crafter put together a pretty decent starting point for a playtesting form. You can download a free pdf or buy printed booklets of it here.
The Game Crafter Playtest Form
I prefer to come up with my own forms rather than use a template, as the specifics of the playtest and game will determine the kinds of questions that are relevant. But, JT’s form is definitely a good starting point for inspiration.
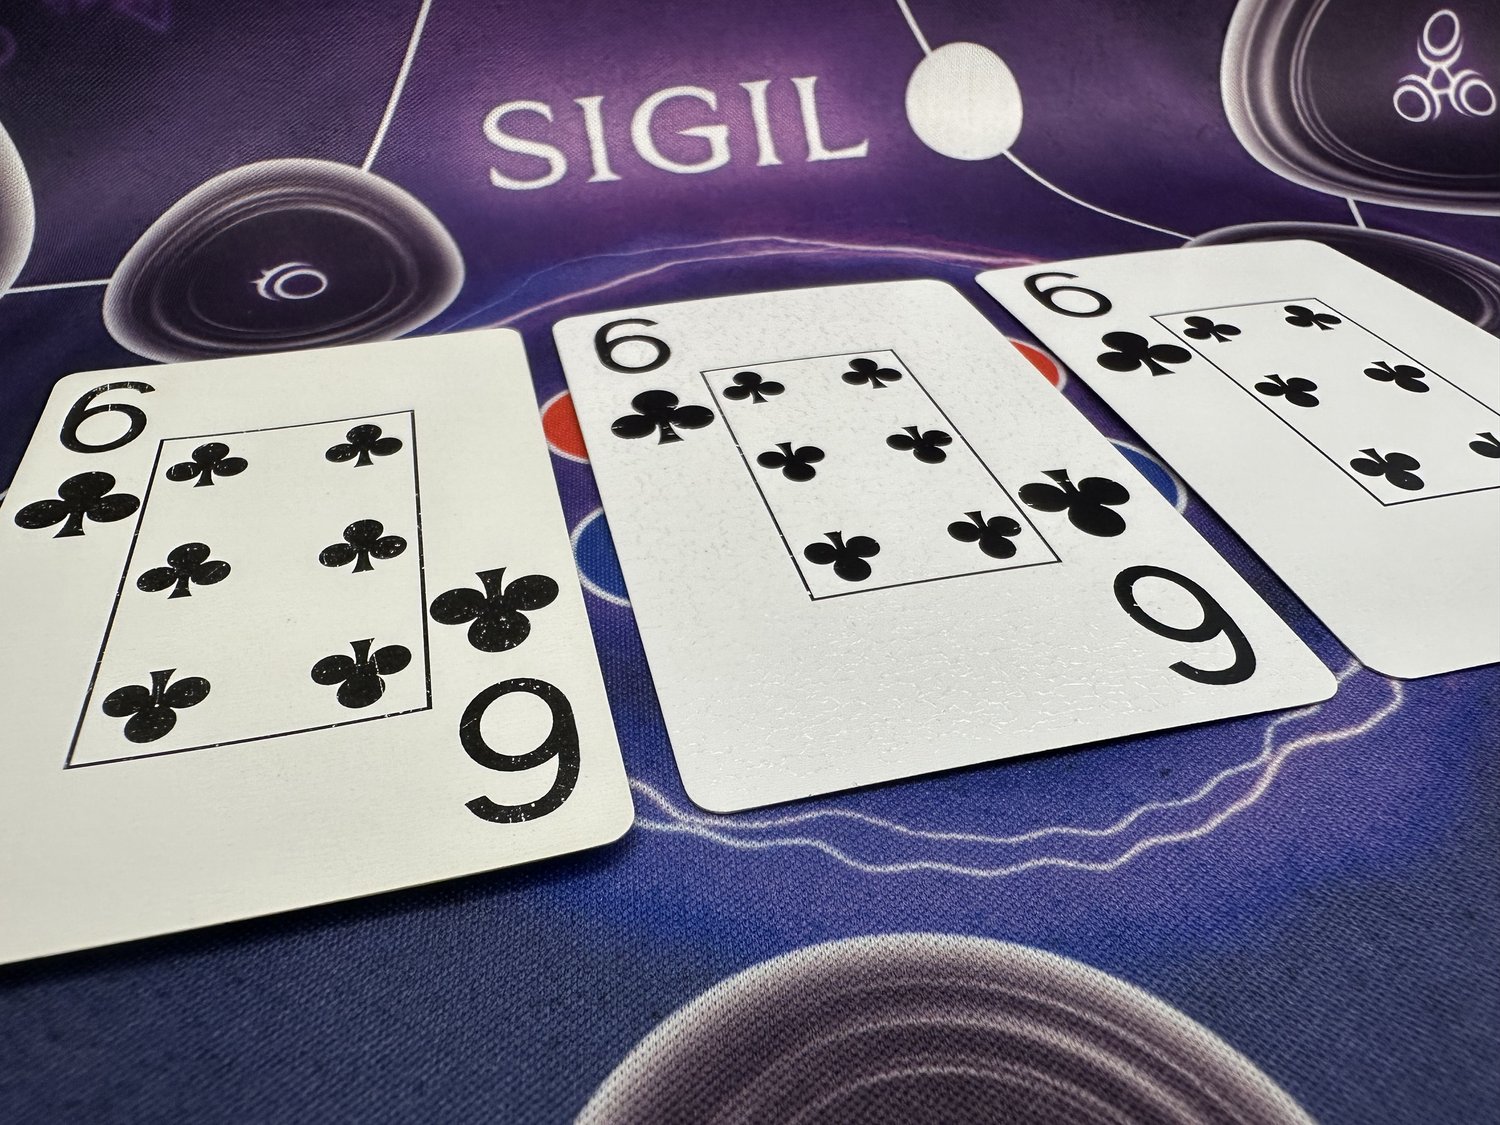
Despite seeing years of play, the deck (seven of clubs not withstanding) has held up remarkably well. The cards are crisp, snappy, and despite some face wear perfectly serviceable (seven of clubs not withstanding). The cards really are the kind of made for life component we all love in our games.
Varnish Crackling
My new deck of red arrows is a different story. After only two plays we cracked open the deck and found substantial crackling on the face of cards.
To understand what is going on with this, we first need to talk a little about how playing cards are made. First a long roll of card or plastic stock (in this case PVC or a similar plastic) is taken. It’s rolled through a printer, and then is finished with either a varnish or a laminate.
Once upon a time (well, in September 2022, actually), to celebrate The Treehouse’s fifth birthday, we had our first go at running a Megagame. You can find out all about what happened during our first run of Watch the Skies, and get an overview of what on Earth (and off Earth) it actually is, in our previous blog post here.
We came away from the previous experience exhausted, exhilarated, and bubbling with ideas for what we wanted to do ‘next time’. Perhaps, in retrospect, we had TOO MANY ideas for tweaks and changes, because it then took us over a year to get our ducks into anything resembling a row and announce the next game. But finally, the day dawned… our second run of Watch the Skies took place on Friday 26th January, and once again, it was a TOTAL BLAST.
This time, a reasonable proportion of those in attendance had played the game before, but no problem! We had plenty of plot twists and new mechanics the keep things fresh, not to mention some nifty new game components, and even a brand new type of team in the mix. Read on for some of the headline changes in this year’s game, some actual news headlines from the in-game newspaper, and lots of pictures to give you a feel for what went down.