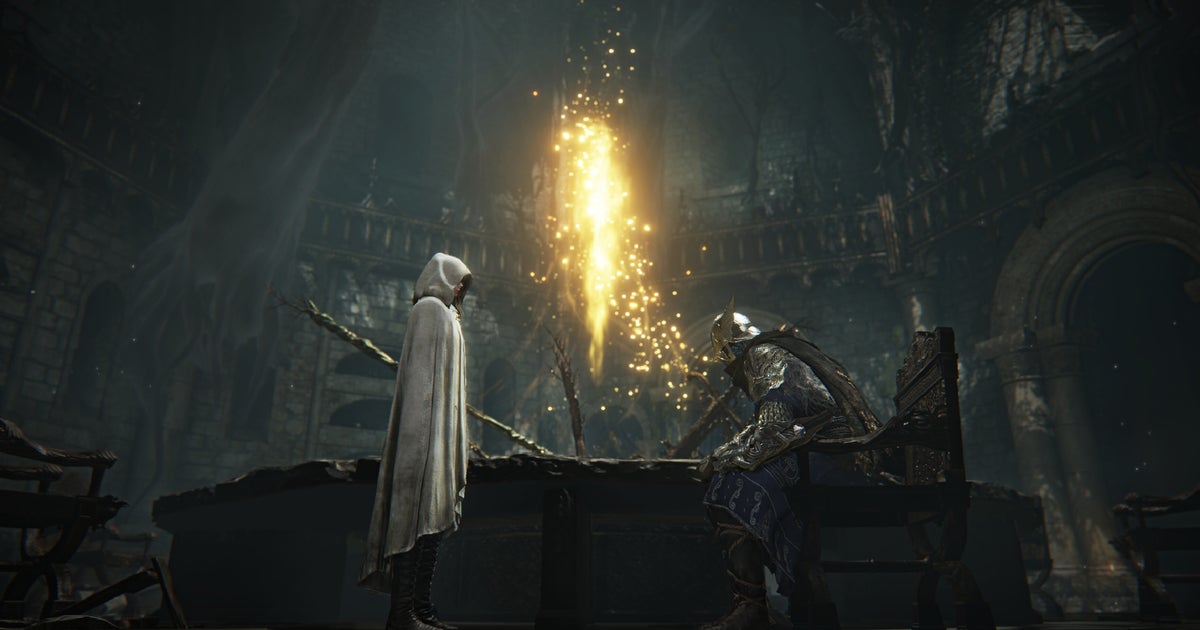
One of the most surprising, out-of-nowhere indie hits of the 2010s was undoubtedly Undertale, but its episodic spinoff, Deltarune, is just as highly regarded and beloved. Developer Toby Fox already released the first two episodes of Deltarune in 2018 and 2021, but the wait for Chapter 3 and Chapter 4 has been a long one. Now though, they’re both here as part of the complete and ‘final’ version Deltarune. While it was always going to be a momentous occasion for the pixel art RPG, I’m completely blown away by just how high it’s flying on Steam right now, rising above recent behemoths like Elden Ring Nightreign on the platform’s best sellers list.
Undertale is a cherished indie game thanks to its visuals, soundtrack, and choice-influenced story. However, being worked on even before Undertale came out was Deltarune, a spinoff that takes a lot of the same gameplay formula (and even some of Undertale’s characters) and transplants them into a “parallel” narrative and world.
Fox has been chipping away at Deltarune since 2012, but so far only two episodes have seen the light of day. The developer promised that Chapter 3 and 4 would arrive at the same time – bundled together with 1 and 2 – in the future, and after 13 years of work, that day has finally arrived.
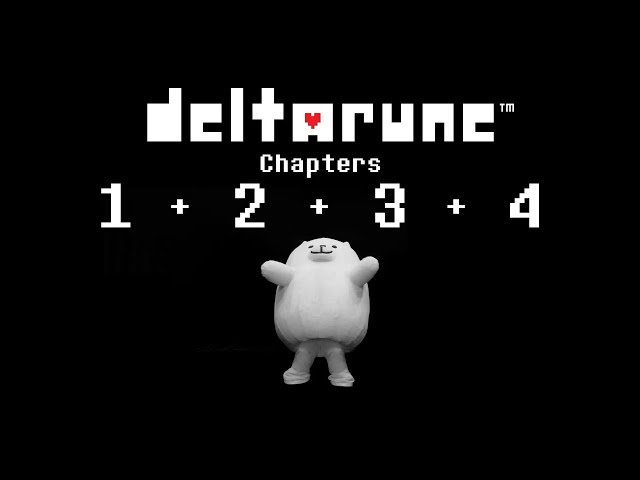
Deltarune’s complete collection of Chapters 1-4 is now available on Steam, and fans of Fox’s work have flocked to it in their droves. At the time of writing, just over 133,000 people are currently playing Deltarune on Steam, and that number could rise by the end of today. Right now, more people are checking out the new chapters than are playing huge hits like Marvel Rivals, Apex Legends, and Helldivers 2.
It’s also shot straight to the top of Steam’s top-sellers charts, sitting above the likes of recent megahit Elden Ring Nightreign and the imminent Dune Awakening.

While Chapters 1 through 4 are available in the new release of Deltarune, Fox has already pledged that a fifth chapter will arrive as a free DLC for anyone that owns the game. If you want to try before you buy, a free demo will let you play the previously released first two chapters. You can grab Deltarune or download the demo right here.
For more, check out our lists of the best RPGs and best story games.
You can follow us on Google News for daily PC games news, reviews, and guides. We’ve also got a vibrant community Discord server, where you can chat about this story with members of the team and fellow readers.
![Complete Universal Piece Styles Tier List and Guide [UPDATE 0.5]](https://histream.ir/wp-content/uploads/2025/06/unversal-piece-style-tier-list-and-guide.png)


![Ultimate Anime Run Kingdom Unit Tier List and Guide [RELEASE 🎉]](https://histream.ir/wp-content/uploads/2025/06/anime-run-kingdom-unit-tier-list-and-guide.png)


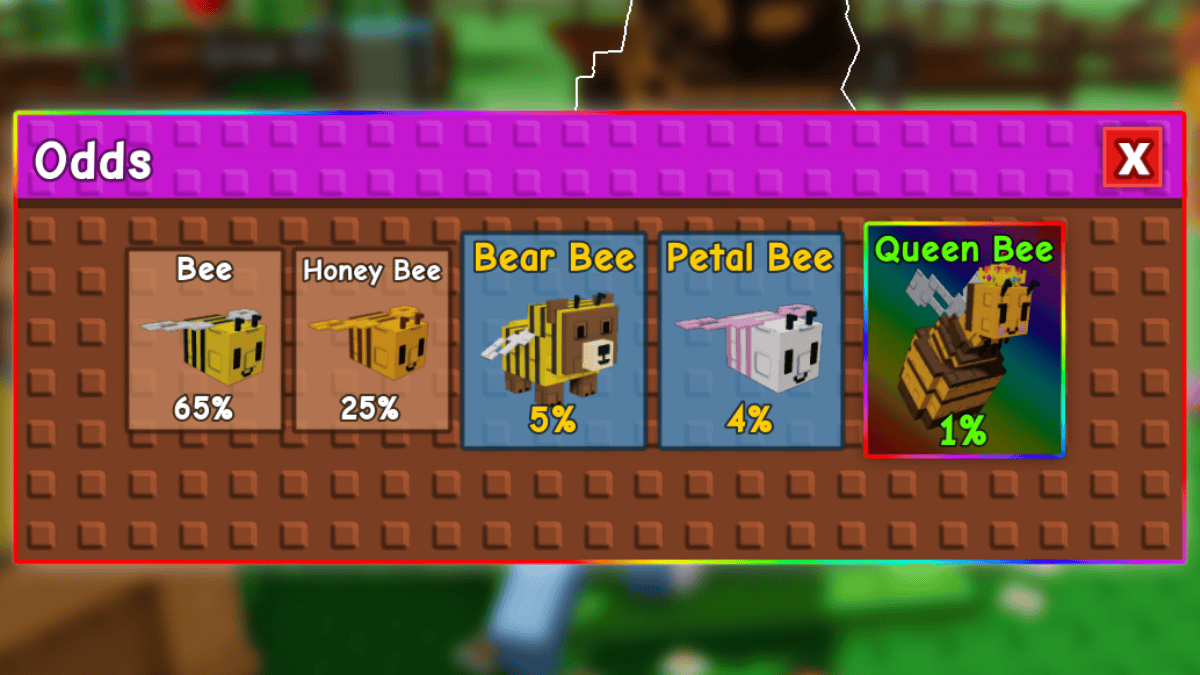
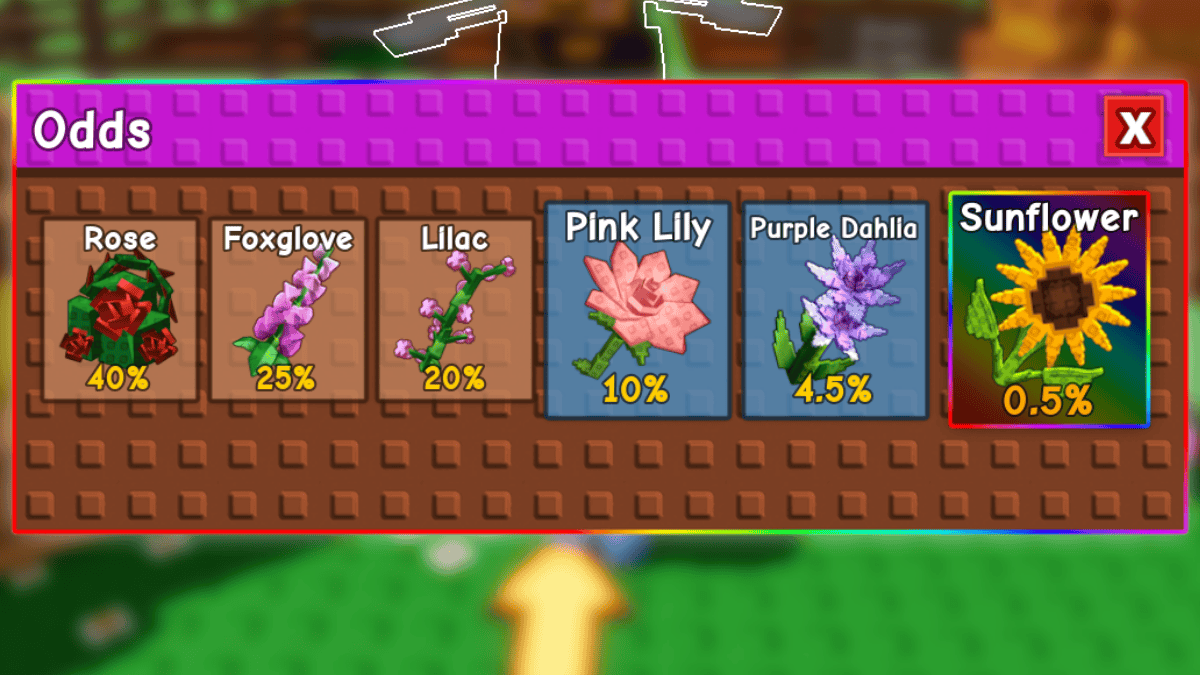
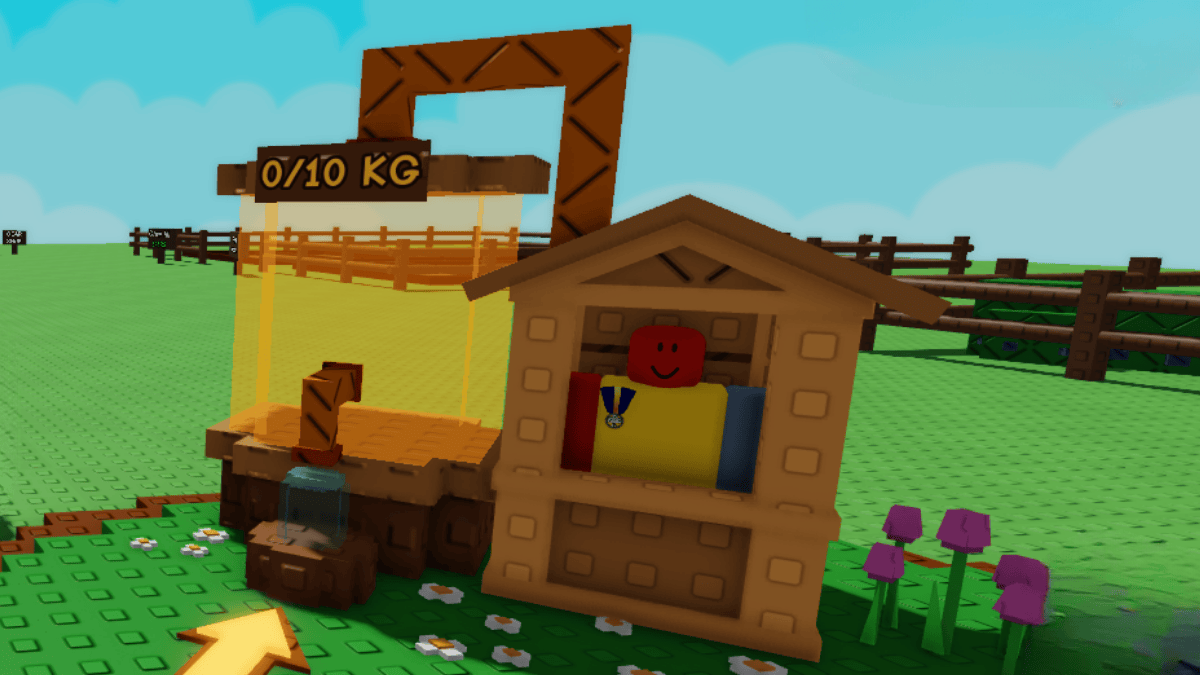
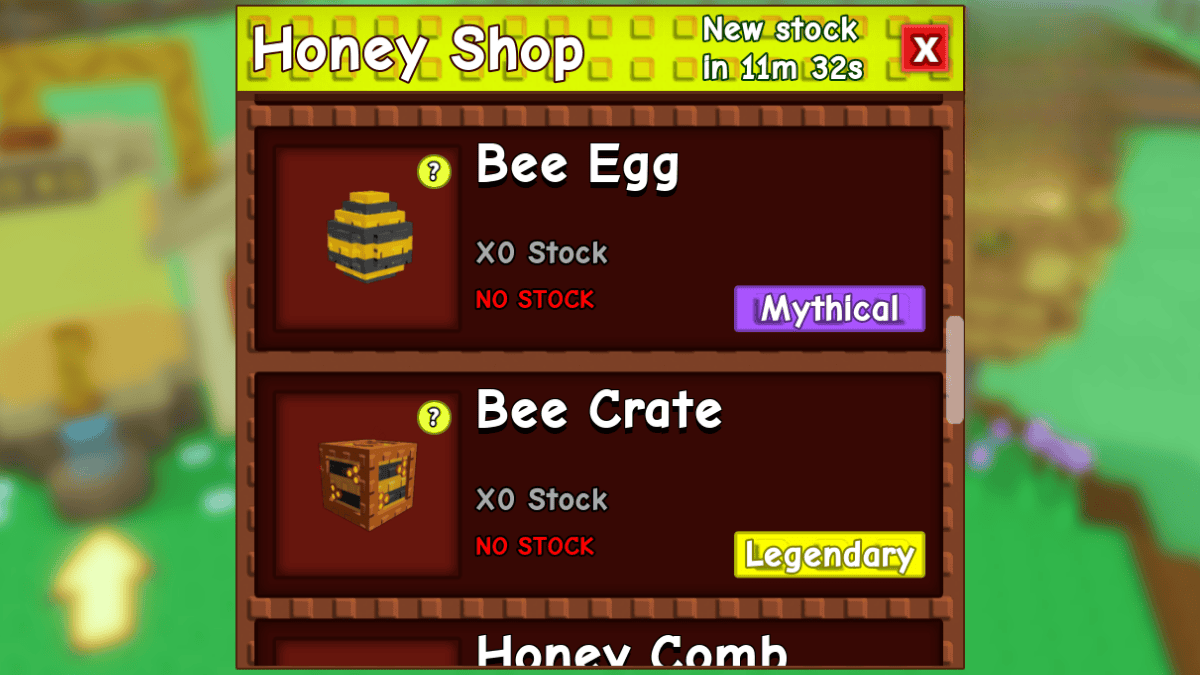
![[🐝] Bizzy Bees Swarm Event Guide for Grow A Garden – How to Get Honey, Pets, and New Seeds](https://histream.ir/wp-content/uploads/2025/06/grow-a-garden-bizzy-bees-swarm-event-guide.png)